Introduction
A Guide to Planting and Cultivating Elderberries is a comprehensive resource that provides essential information on how to successfully grow and care for elderberry plants. This guide covers various aspects, including selecting the right elderberry variety, preparing the soil, planting techniques, proper watering and fertilization, pest and disease management, and harvesting elderberries. Whether you are a beginner or an experienced gardener, this guide will equip you with the knowledge and techniques needed to cultivate healthy and productive elderberry plants.
The Benefits of Growing Elderberries in Your Garden
Elderberries are a versatile and beneficial addition to any garden. Not only do they provide a beautiful display of flowers and berries, but they also offer a range of health benefits. In this guide, we will explore the many advantages of growing elderberries in your garden.
One of the primary benefits of growing elderberries is their nutritional value. Elderberries are packed with vitamins and antioxidants, making them a great addition to a healthy diet. They are rich in vitamin C, which can help boost the immune system and fight off colds and flu. Additionally, elderberries contain high levels of antioxidants, which can help reduce inflammation and protect against chronic diseases.
Another advantage of growing elderberries is their medicinal properties. Elderberries have long been used in traditional medicine to treat a variety of ailments. They have been shown to have antiviral properties, making them effective in fighting off colds and flu. Elderberries can also help reduce the duration and severity of symptoms associated with respiratory infections.
In addition to their health benefits, elderberries are also a great addition to any garden for their aesthetic appeal. The flowers of the elderberry plant are delicate and beautiful, attracting bees and butterflies to your garden. The berries that follow the flowers are small and dark purple, adding a pop of color to your landscape. Elderberries can be grown as shrubs or small trees, making them a versatile choice for any garden.
Growing elderberries is also relatively easy, making them a great option for both experienced and novice gardeners. They are hardy plants that can tolerate a wide range of soil conditions and climates. Elderberries prefer full sun but can also tolerate partial shade. They are also relatively low maintenance, requiring minimal pruning and fertilization.
When it comes to planting elderberries, it is important to choose the right variety for your garden. There are several different types of elderberries available, each with its own unique characteristics. Some varieties are better suited for culinary purposes, while others are more ornamental. It is important to do your research and choose a variety that best suits your needs and preferences.
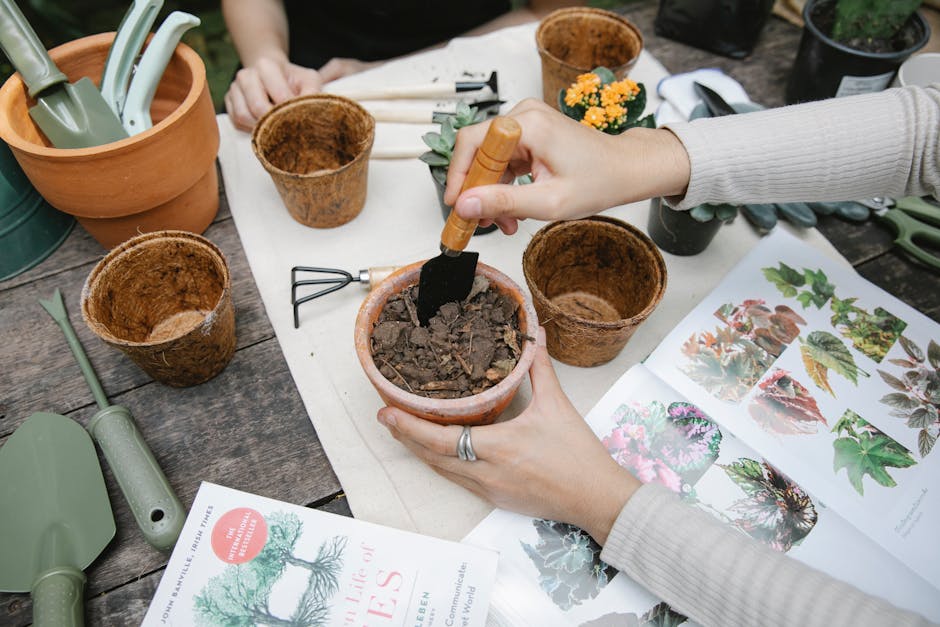
Once you have chosen the right variety, it is time to prepare your garden for planting. Elderberries prefer well-drained soil, so it is important to amend your soil if necessary. They also benefit from the addition of organic matter, such as compost or aged manure. It is also important to ensure that your elderberry plants have adequate space to grow, as they can reach heights of up to 10 feet.
When planting elderberries, it is best to space them at least 6 feet apart to allow for proper air circulation and sunlight exposure. Dig a hole that is slightly larger than the root ball of the plant and gently place the plant in the hole. Backfill the hole with soil, making sure to firm it gently around the roots. Water the plant thoroughly after planting to help settle the soil.
In conclusion, growing elderberries in your garden offers a range of benefits. From their nutritional value and medicinal properties to their aesthetic appeal and ease of cultivation, elderberries are a versatile and rewarding addition to any garden. So why not give them a try and enjoy the many advantages they have to offer?
Step-by-Step Guide to Planting Elderberry Bushes
Elderberries are a versatile and nutritious fruit that can be easily grown in your own backyard. Whether you’re a seasoned gardener or a beginner, planting and cultivating elderberries is a rewarding and enjoyable experience. In this step-by-step guide, we will walk you through the process of planting elderberry bushes, from selecting the right location to caring for your plants.
The first step in planting elderberry bushes is choosing the right location. Elderberries thrive in full sun, so find a spot in your garden that receives at least six hours of direct sunlight each day. Additionally, elderberries prefer well-drained soil, so make sure the area has good drainage. If your soil is heavy or clay-like, consider adding organic matter such as compost or aged manure to improve its texture and drainage.
Once you have selected the perfect spot, it’s time to prepare the soil. Start by removing any weeds or grass from the area. Then, dig a hole that is twice as wide and deep as the root ball of your elderberry plant. Gently loosen the roots of the plant before placing it in the hole. Backfill the hole with soil, making sure to firm it gently around the roots to eliminate any air pockets.
After planting, water your elderberry bush thoroughly to help settle the soil and ensure good root-to-soil contact. Keep the soil consistently moist, but not waterlogged, especially during the first year of growth. Mulching around the base of the plant can help retain moisture and suppress weed growth.
As your elderberry bush grows, it’s important to provide it with proper care and maintenance. Regular watering is essential, especially during dry spells. Elderberries also benefit from regular fertilization. Apply a balanced fertilizer in early spring and again in early summer to promote healthy growth and abundant fruiting.
Pruning is another important aspect of elderberry cultivation. Prune your elderberry bushes in late winter or early spring, before new growth begins. Remove any dead or damaged branches, as well as any weak or crossing branches. This will help improve air circulation and sunlight penetration, leading to healthier plants and better fruit production.
Elderberries are prone to pests and diseases, so it’s important to keep an eye out for any signs of trouble. Common pests include aphids, spider mites, and Japanese beetles. Regularly inspect your plants for any signs of infestation, and take appropriate measures to control the pests. Additionally, elderberries can be susceptible to diseases such as powdery mildew and leaf spot. Proper sanitation, such as removing fallen leaves and debris, can help prevent the spread of these diseases.
Harvesting elderberries is the most exciting part of growing these plants. The berries are ready to be picked when they are fully ripe and have a deep purple or black color. Simply grasp the cluster of berries and gently pull them away from the stem. Elderberries can be used in a variety of culinary creations, from jams and jellies to pies and wines.
In conclusion, planting and cultivating elderberries is a rewarding endeavor that can provide you with a bountiful harvest of nutritious and delicious fruit. By following this step-by-step guide, you can successfully grow your own elderberry bushes and enjoy the many benefits they offer. So, roll up your sleeves, grab your gardening tools, and get ready to embark on a journey of growing your own elderberries. Happy planting!
Essential Tips for Cultivating Healthy Elderberry Plants
Elderberries are a versatile and nutritious fruit that can be grown in your own backyard. Not only do they provide a delicious addition to jams, jellies, and pies, but they also offer numerous health benefits. If you’re interested in cultivating elderberries, here are some essential tips to help you grow healthy plants.
First and foremost, it’s important to choose the right variety of elderberry for your climate and growing conditions. There are several different types of elderberries, including American elderberry (Sambucus canadensis) and European elderberry (Sambucus nigra). American elderberries are more common in North America and are generally easier to grow, while European elderberries are better suited for cooler climates.
Once you’ve selected the appropriate variety, it’s time to prepare the soil. Elderberries prefer well-drained soil with a pH level between 5.5 and 6.5. Before planting, amend the soil with organic matter such as compost or aged manure to improve its fertility and drainage. It’s also a good idea to conduct a soil test to determine if any additional nutrients are needed.
When it comes to planting elderberries, spacing is key. These plants can grow quite large, reaching heights of 6 to 12 feet and spreading up to 10 feet wide. To ensure adequate air circulation and prevent disease, space your elderberry plants at least 6 to 10 feet apart. Dig a hole that is twice as wide and deep as the root ball, and gently place the plant in the hole, making sure the crown is level with the soil surface.
After planting, it’s important to provide your elderberry plants with proper care and maintenance. Water the plants regularly, especially during dry spells, to keep the soil consistently moist but not waterlogged. Elderberries also benefit from a layer of mulch around the base of the plants to help retain moisture and suppress weeds.
Fertilizing elderberries is essential for their growth and productivity. Apply a balanced fertilizer, such as a 10-10-10 or 14-14-14 formula, in early spring before new growth begins. Be sure to follow the manufacturer’s instructions for application rates and timing. Additionally, consider incorporating organic fertilizers, such as fish emulsion or compost tea, throughout the growing season to provide a steady supply of nutrients.
Pruning is another important aspect of elderberry care. In late winter or early spring, remove any dead or damaged wood, as well as any weak or crossing branches. This will help promote airflow and prevent the spread of diseases. It’s also a good idea to prune older canes to encourage new growth and maintain a manageable size.
Lastly, be aware of potential pests and diseases that can affect elderberries. Common pests include aphids, spider mites, and Japanese beetles. Regularly inspect your plants for signs of infestation and take appropriate measures, such as using insecticidal soap or introducing beneficial insects, to control these pests. As for diseases, elderberries can be susceptible to powdery mildew and leaf spot. To prevent these issues, ensure proper air circulation, avoid overhead watering, and promptly remove any infected plant material.
By following these essential tips, you’ll be well on your way to cultivating healthy elderberry plants. With a little patience and care, you’ll soon be enjoying the bountiful harvest of these delicious and nutritious berries. So why not give it a try and add a touch of nature’s goodness to your own backyard?
Harvesting and Preserving Elderberries: A Complete Guide
Harvesting and Preserving Elderberries: A Complete Guide
Now that you have successfully planted and cultivated your elderberry plants, it’s time to reap the rewards of your hard work. Harvesting and preserving elderberries is a delightful process that allows you to enjoy the fruits of your labor throughout the year. In this complete guide, we will walk you through the steps to ensure a bountiful harvest and provide you with various methods to preserve your elderberries for future use.
When it comes to harvesting elderberries, timing is crucial. The berries should be fully ripe before picking them, which typically occurs in late summer or early fall. Look for berries that are deep purple or black in color and have a slightly soft texture. Avoid picking unripe berries as they may not have reached their full flavor potential.
To harvest the elderberries, gently cut the entire cluster of berries from the stem using a pair of sharp scissors or pruning shears. Be careful not to damage the plant or surrounding branches in the process. Place the harvested clusters in a clean container, such as a basket or bucket, ensuring that they are not overcrowded or crushed.
Once you have gathered your elderberries, it’s time to preserve them for future use. One popular method is freezing the berries. Start by rinsing the clusters under cold water to remove any dirt or debris. Then, remove the berries from the stems using a fork or your fingers. Spread the berries in a single layer on a baking sheet lined with parchment paper and place them in the freezer. Once frozen, transfer the berries to airtight containers or freezer bags for long-term storage.
Another preservation method is making elderberry syrup. This versatile syrup can be used in various culinary creations, from cocktails and desserts to drizzling over pancakes or yogurt. To make elderberry syrup, start by removing the berries from the stems and rinsing them thoroughly. In a large pot, combine the berries with water and bring the mixture to a boil. Reduce the heat and simmer for about 30 minutes, or until the berries have softened and released their juices. Mash the berries with a potato masher or the back of a spoon to extract as much juice as possible. Strain the mixture through a fine-mesh sieve or cheesecloth, pressing down on the berries to extract all the liquid. Return the strained juice to the pot and add sugar or honey to taste. Simmer the mixture for an additional 10 minutes, stirring occasionally, until it thickens slightly. Pour the syrup into sterilized bottles or jars and store in the refrigerator for up to several months.
If you prefer a more concentrated form of elderberries, consider making elderberry jam or jelly. To make elderberry jam, start by removing the berries from the stems and rinsing them thoroughly. In a large pot, combine the berries with sugar and lemon juice, and bring the mixture to a boil. Reduce the heat and simmer for about 30 minutes, or until the berries have softened and the mixture has thickened. Pour the hot jam into sterilized jars, leaving a small headspace, and seal tightly. Process the jars in a boiling water bath for about 10 minutes to ensure proper preservation.
In conclusion, harvesting and preserving elderberries is a rewarding process that allows you to enjoy the flavors of summer throughout the year. By following these simple steps, you can ensure a successful harvest and have an abundance of elderberries to enjoy in various forms, from frozen berries to homemade syrups, jams, and jellies. So go ahead and savor the taste of elderberries all year round!
Common Elderberry Pests and Diseases: How to Identify and Treat Them
Elderberries are a popular and versatile fruit that can be used in a variety of culinary creations, from jams and jellies to pies and wines. However, like any plant, elderberries are susceptible to pests and diseases that can hinder their growth and productivity. In this section, we will explore some of the most common elderberry pests and diseases, and provide tips on how to identify and treat them.
One of the most common pests that affect elderberries is the elderberry borer. These small beetles lay their eggs on the stems of the plant, and the larvae bore into the wood, causing damage and weakening the plant. To identify an infestation, look for small holes in the stems and sawdust-like frass around the base of the plant. To treat an infestation, prune and destroy affected stems, and consider applying an insecticide labeled for borers.
Another common pest that can wreak havoc on elderberries is the aphid. These tiny insects feed on the sap of the plant, causing leaves to curl and become distorted. To identify an aphid infestation, look for clusters of small, soft-bodied insects on the undersides of leaves. To treat an infestation, you can try spraying the plant with a strong stream of water to dislodge the aphids, or apply an insecticidal soap or neem oil.
Elderberries are also susceptible to a variety of diseases, including powdery mildew. This fungal disease appears as a white, powdery coating on the leaves and stems of the plant. To treat powdery mildew, prune and destroy affected plant parts, and consider applying a fungicide labeled for powdery mildew.
Another common disease that affects elderberries is leaf spot. This fungal disease causes dark, circular spots to appear on the leaves, which can eventually lead to defoliation. To treat leaf spot, prune and destroy affected leaves, and consider applying a fungicide labeled for leaf spot.
Root rot is another disease that can affect elderberries, particularly in poorly drained soil. This fungal disease causes the roots to rot, leading to stunted growth and wilting. To prevent root rot, ensure that the soil is well-drained and avoid overwatering. If root rot is already present, there is no effective treatment, and affected plants should be removed and destroyed.
In addition to pests and diseases, elderberries can also be affected by nutrient deficiencies. One common deficiency is iron chlorosis, which causes the leaves to turn yellow with green veins. To treat iron chlorosis, you can apply iron chelates or a foliar spray containing iron.
In conclusion, while elderberries are a resilient and hardy plant, they are not immune to pests and diseases. By being vigilant and proactive in identifying and treating these issues, you can ensure the health and productivity of your elderberry plants. Remember to regularly inspect your plants for signs of pests and diseases, and take appropriate action to prevent further damage. With proper care and attention, you can enjoy a bountiful harvest of delicious elderberries year after year.


